Journal
Crochet for Beginners: The Basic Stitches You Need to Know
Learn to crochet from zero: holding the hook and yarn, slip knot, chain, single crochet, double crochet, magic ring and practice tips for beginners.
Lovely Admin·Published ·6 min read
Crochet looks complicated from the outside, but every piece, from a keychain to a cardigan, is built from a handful of basic stitches repeated over and over. Master the six techniques in this guide and you’ll be able to read and make most beginner patterns.
This guide uses US terms, which most international patterns and all LovelyCrochet patterns use. If you come across an unfamiliar term, open our crochet glossary.
What you need
- 8-ply milk cotton yarn in a light colour. Dark yarn makes stitches hard to see. There’s more in our guide to yarn types.
- A 4 mm hook, ideally with a rubber grip.
- Small scissors.
- A tapestry needle for weaving in ends.
- Stitch markers, or safety pins instead.
Holding the hook and yarn
There are two ways to hold a hook, and both are correct.
- Pencil grip. The hook sits between your thumb and index finger, supported from below by your middle finger. Good for fine movements and small details.
- Knife grip. Your palm wraps over the top of the hook. It has more power and is less tiring for big projects.
Your other hand controls the yarn. Wrap it from your little finger, under your ring and middle fingers, then over your index finger. Lift the index finger slightly to keep the yarn taut. Your thumb and middle finger pinch the work so it doesn’t move.
Don’t worry if it feels stiff at first. Even tension is a skill that develops after a few hours of practice.
1. Slip knot
This is the first loop you put on the hook before you start.
- Make a loop of yarn with the tail behind.
- Put the hook through the loop, catch the yarn coming from the ball and pull it through.
- Gently pull both ends until the knot snugs onto the hook but can still slide.
2. Chain (ch)
The chain is the foundation of almost every pattern.
- With the slip knot on your hook, wrap the yarn over the hook from back to front. This is called a yarn over (yo).
- Pull the yarn through the loop on your hook. That’s one chain.
- Repeat. When counting, don’t count the loop on the hook.
Practice: make 20 chains of even size. If your chains are too tight, relax the yarn over your index finger.
3. Slip stitch (sl st)
The slip stitch is the shortest stitch, used to close rounds and join pieces.
- Insert the hook into the next stitch.
- Yarn over and pull through both the stitch and the loop on your hook in one go.
4. Single crochet (sc)
This is the most important stitch for beginners, and the main stitch for amigurumi and bags. See the single crochet page for details.
- Chain 15. Skip the first chain from the hook.
- Insert the hook into the next chain.
- Yarn over and pull up a loop. You have 2 loops on the hook.
- Yarn over again and pull through both loops.
- Repeat in every chain to the end. You’ll have 14 single crochet.
- At the end of the row, chain 1 to turn, flip the work, and single crochet into each stitch of the previous row.
Practice: work 10 rows of single crochet to make a small square. Count the stitches in every row. If the number changes, you’ve probably skipped the first stitch or added one at the end.
5. Double crochet (dc)
The double crochet is taller and grows quickly. It’s the main stitch in granny squares.
- Yarn over once before inserting the hook.
- Insert into the stitch, yarn over and pull up a loop. You have 3 loops on the hook.
- Yarn over and pull through 2 loops. You have 2 left.
- Yarn over and pull through the last 2 loops.
The turning chain for double crochet is 3 chains, and it usually counts as one stitch.
6. Magic ring and working in the round
For amigurumi, flowers and hats, we work in the round from the centre outwards. You start with a magic ring, an adjustable loop that pulls closed so there’s no hole in the middle.
- Wrap the yarn into a loop around your fingers with the tail behind.
- Insert the hook, catch the yarn, pull it through and chain 1 to lock it.
- Work 6 single crochet into the ring.
- Pull the tail until the hole closes.
The next rounds use increases, which means 2 stitches in 1 stitch, to widen the circle: 6, 12, 18, 24 and so on.
Reading a simple pattern
Patterns are written in abbreviations. For example:
Rnd 2: inc in each st (12)
This means that in round 2 you increase in every stitch, so you end the round with 12 stitches. The number in brackets is always the stitch count at the end of the row or round. Get into the habit of checking it.
Remember that UK patterns use different names. A UK “dc” is a US “sc”. Always check which terms a pattern uses before you start.
Common beginner mistakes and fixes
- Your work keeps getting wider or narrower. Usually the first or last stitch has been skipped or doubled. Put a stitch marker in the first and last stitch of each row.
- Your stitches are too tight. The hook struggles to go in. Relax your yarn hand, or go up half a millimetre in hook size.
- Your hand aches. Take a break every 20–30 minutes, stretch your fingers and try the knife grip.
- The yarn keeps splitting. The yarn’s twist is too loose. Try a different brand.
Our recommended first projects
- A square coaster of 10 rows of single crochet, to practise tension and counting.
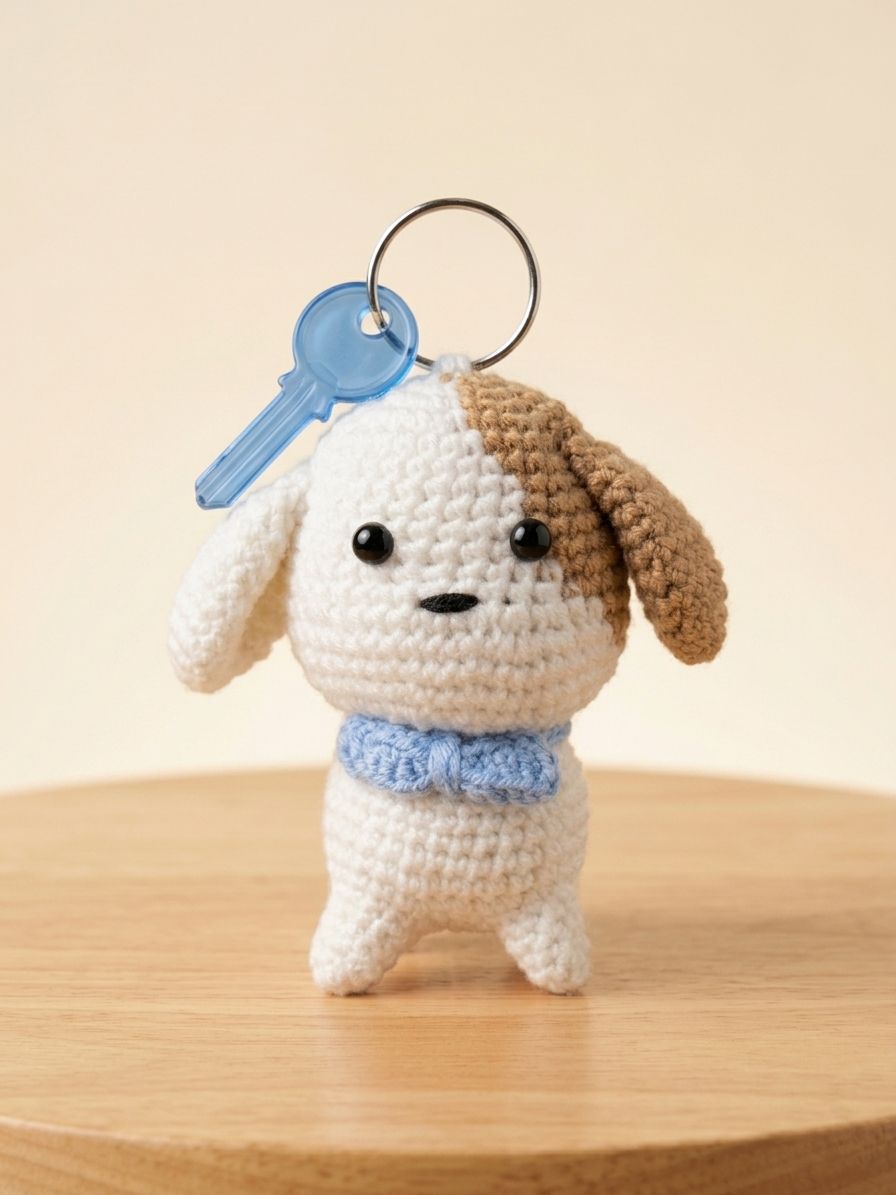
- Our heart keychain pattern, to practise working in the round and joining two sides. Once that feels easy, try other shapes like our crochet puppy keychain.
- Our mini tulip pattern, to practise increases, decreases and shaping petals.
After those three, you’re ready to try a simple amigurumi or a granny square.
In short
Learning to crochet is like learning to write. At first the letters wobble, and then they flow. Don’t compare your first piece with someone who has crocheted for years. Keep your first project, because six months from now you’ll love seeing how far you’ve come.
To see what these basic stitches can make, browse our crochet accessories. Almost all of them use only single crochet, chains and slip stitches.